Github Actions for Seleniod Test Scripts
A guide to running test automation scripts in container

In this article, we are going to see how to automate a web application using WebdriverIO. Leveraging the cross-browser power of Selenoid, by running it on the GitHub Actions and publishing the test results to GitHub pages.
WebdriverIO is a next-gen browser and mobile automation test framework for Node.js
It is what they say, truly an open-source framework that can be used to automated modern web applications as well as native and cross-platform mobile applications.
It comes with a lot of add-on services, to name a few, Google lighthouse integration, DevTools service (leverages Chrome DevTools protocol), Appium service and Visual regression testing service. Check the complete list of services provided by WebdriverIO here under the services section.
Selenoid is a lightning fast Selenium protocol implementation running browsers in Docker containers
It is an open-source solution for running all your test scripts on a cross-browser platform. Easy installation, relatively fast, ready to use browser images, live browser execution with logs, and video recordings.
GitHub Actions makes it easy to automate all your software workflows
Currently, it has 8K+ actions in the Github market. It is easy to configure, all the action files are written using YAML syntax, supports multiple programming languages and major OS, matrix builds, secure way to managing all your secret keys.
Installation
Now that we have seen all the benefits, let’s get started with an installation process. Installing a WebdriverIO is very straight forward. All you need to do is initialise npm by doing
npm init -y
After initialising the npm, execute the following to install wdio cli package.
npm install @wdio/cli
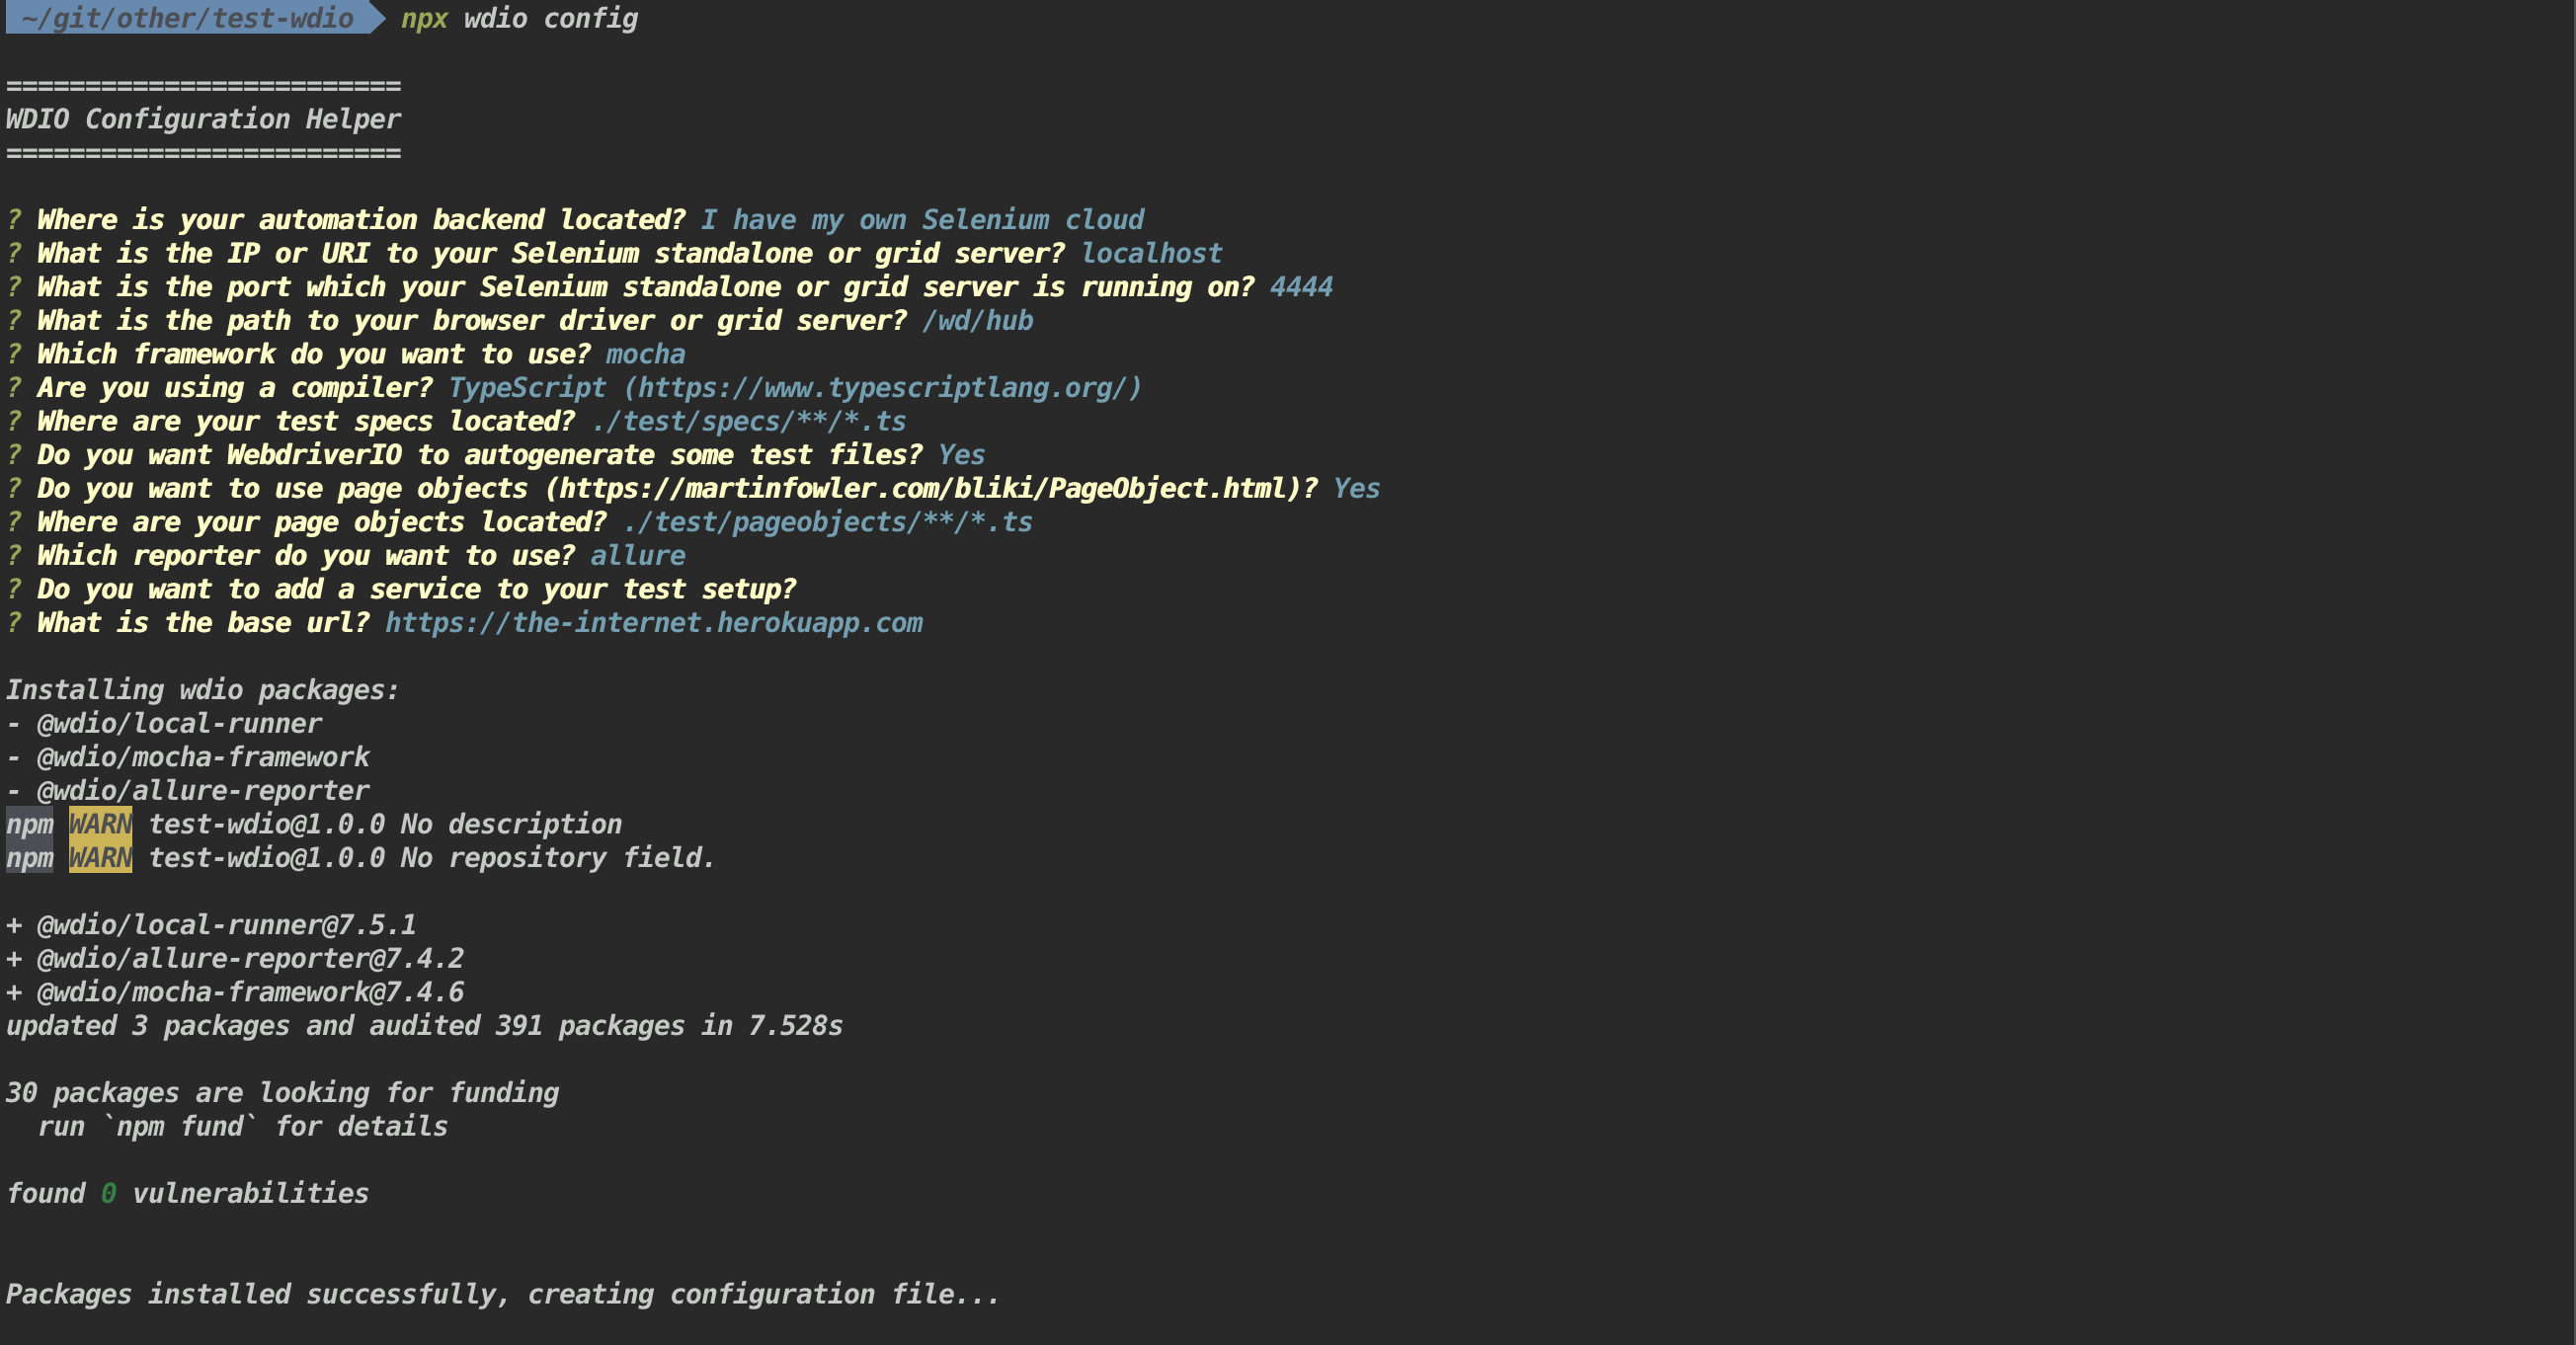
After the installation of CLI, execute the below command to configure the wdio, which will ask you a series of questions to get started.
npx wdio config

In addition to this, we need to include tsconfig.json , auto compile and browser configuration details to wdio.conf.ts file.
Workflow walkthrough
Now that everything has set up let’s look into the GitHub actions yml file. And go through every step.
Step 1: Starting the selenoid server
- name: Start Selenoid server
  uses: n-ton4/selenoid-github-action@master
  id: start-selenoid
  continue-on-error: false
  with:
    version: 1.10.1
    args: -limit 10
    browsers: chrome;firefox
    last-versions: 1
Step 2: Checkout the code
- name: Checkout the code
  uses: actions/checkout@v2
Step 3: Setup the node env
- name: Setup the node env
  uses: actions/setup-node@v2
  with:
    node-version: "14"
Step 4: Install the dependencies
- name: Install the dependencies
  run: npm install
Step 5: Run wdio test scripts
- name: Run wdio test scripts
  run: npm run test
Step 6: Get the allure history
- name: Get allure history
  uses: actions/checkout@v2
  if: always()
  continue-on-error: true
  with:
    ref: gh-pages
    path: gh-pages
Step 7: Setup allure report
- name: Setup allure report
  uses: simple-elf/allure-report-action@master
  if: always()
  id: allure-report
  with:
    allure_results: allure-results
    allure_history: allure-history
    keep_reports: 20
Step 8: Deploy the report to the GitHub pages
- name: Deploy report to Github Pages
  if: always()
  uses: peaceiris/actions-gh-pages@v2
  env:
    PERSONAL_TOKEN: ${{ secrets.GITHUB_TOKEN }}
    PUBLISH_BRANCH: gh-pages
    PUBLISH_DIR: allure-history
Conclusion:
So whenever the code has been merged to the main branch the above workflow will be triggered and test results are published to GitHub pages. The benefits of having such CI pipelines in place helps to identify if anything was broken by the recent changes. And the main advantage of running UI tests in cross-browser environments assists in avoiding compatibility issues in the end.
Note: The above workflow should be triggered whenever there is a PR raised against the branch. But due to the crypto-mining attacks, I have not configured pull request flow for this repo.
Originally published on Medium
🌟 🌟 🌟 The source code for this blog post can be found here 🌟🌟🌟