Building a Home Lab server — Part I
Cost-effective approach to building a home lab server using refurbished workstation

Setting up a home lab server is a great way to experiment with new technologies, learn about server management, and self-host diverse range of applications.
What I have in my Homelab server ?
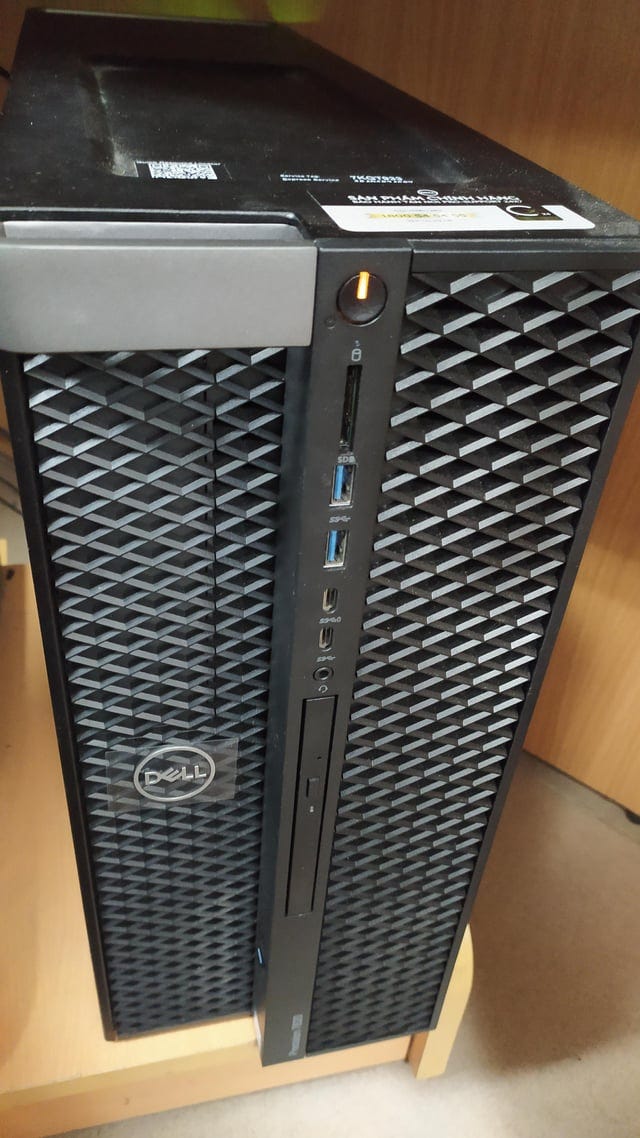
The refurbished Dell Precision 7820 workstation offers robust hardware, and 2.5Gbps Ethernet Switch, making it an excellent choice for a home lab server.
-
Storage : 256GB NVMe SSD and 1TB HDD
-
Memory : 48GB DDR4 ECC 2666MHz RAM
-
CPU : Intel Xeon Gold 6134M (3.2 GHz, 8 cores, 16 threads)
-
GPU : Radeon Pro WX5100 GPU
Choosing an Operating System (OS)
Proxmox VE — Proxmox is an open-source virtualization platform that supports KVM-based virtualization and LXC containers. It provides a user-friendly web interface, making it easier to manage VMs and containers.
Installing Proxmox VE
1. Download Proxmox VE ISO
Visit the Proxmox download page and download the latest Proxmox VE ISO.
2. Create a Bootable USB Drive
Use tools like Rufus or Etcher to create a bootable USB drive with the downloaded ISO.
3. Boot from the USB Drive
Insert the USB drive and boot the Dell Precision 7820. During startup, press the appropriate key (usually F12) to enter the Boot Menu, and select the USB drive.
4. Install Proxmox VE
-
Follow the installation prompts. Choose the 256GB NVMe SSD as the installation target to ensure the OS takes advantage of the high-speed storage.
-
Configure the network settings, hostname, and root password.
5. Initial Setup
-
After installation, you can access the Proxmox web interface by navigating to
https://<your-server-ip>:8006. -
Login with the root credentials you created during installation.
Originally published on Medium
